How-To Guides & Resources
Welcome to our How-To Guides!
Whether you're new here or just need a quick refresher, you've come to the right place. This page is your all-in-one resource for getting started and mastering our product. Dive into our how-to snippets, watch our Video Tutorials, and download helpful documents to get the most out of your experience.
Chipped windscreen? The Sealey SCS902 can help repair your screen.
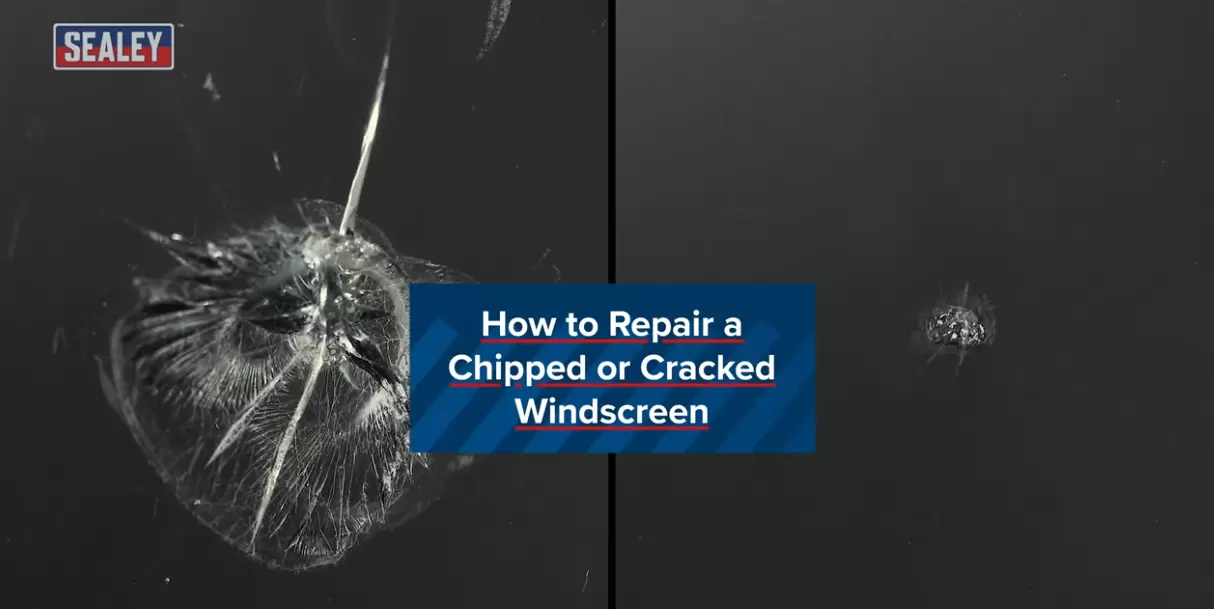
View the video HERE.... or click the image
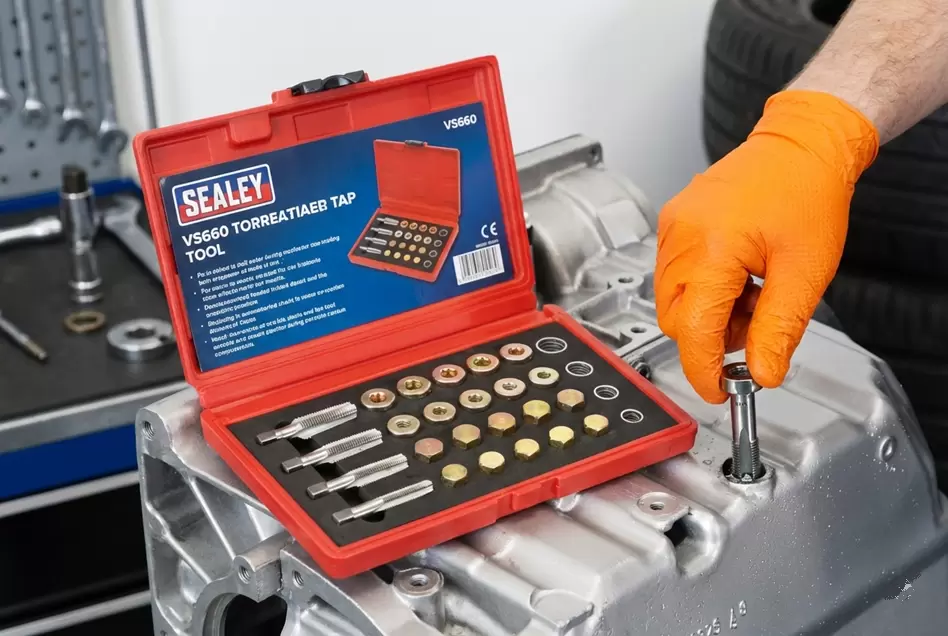
A commonly asked question is how do I know what size air connectors do I need ?
Measuring a British Standard Pipe (BSP) thread involves two key steps: measuring the outside diameter (OD) and counting the threads per inch (TPI).
Step 1: Measure the Diameter
For parallel (BSPP) threads, measure the outside diameter (OD) of the male thread using a caliper.
For tapered (BSPT) threads, measuring the OD can be unreliable because the diameter changes along the length of the thread.
Instead, it's often more accurate to measure the inner diameter (ID) of the female fitting's bore. A common industry rule-of-thumb is to subtract 25% (or 1/4 inch) from the OD of a male thread to get the approximate nominal size.
For example, a thread with a 1-inch OD is a 3/4-inch BSP thread. View this video of how to Measure the thread size. HOW TO.
How to wire a UK 13a 3 pin plug
The wires are colour-coded as follows:
Brown is the Live wire (L). It should be connected to the terminal on the right.
Blue is the Neutral wire (N). It should be connected to the terminal on the left.
Green and Yellow is the Earth wire (E or ⏚). It should be connected to the top terminal.
How to Bleed a Trolley Jack
The exact procedure can vary slightly by manufacturer, so it's always best to check your specific model's manual. However, the general steps for bleeding a trolley jack are as follows:
Step-by-Step Instructions
Fully Lower the Jack: Ensure the jack is fully lowered. If it's currently up, turn the release valve counter-clockwise to let the arm descend completely.
Open the Release Valve: Open the release valve by turning it counter-clockwise, usually one full turn. This allows air to escape from the system.
Pump the Handle: Pump the handle of the jack 10 to 20 times quickly and vigorously. This action helps to force any trapped air out of the system.
Close the Release Valve: Turn the release valve clockwise until it is fully closed and securely tightened.
Test the Jack: With the release valve closed, pump the jack to its full extension to test for proper operation. The lift arm should rise smoothly and consistently.
Repeat if Necessary: If the jack still feels spongy or does not lift correctly, repeat the bleeding procedure. It may take a few cycles to completely purge all the air.
Important Considerations
Jack Oil: Only use a high-grade hydraulic jack oil. Using other fluids like motor oil or brake fluid can damage the seals and internal components.
Don't Overfill: Be careful not to add too much hydraulic fluid, as this can cause the jack to leak and malfunction.
Manufacturer's Manual: Always refer to your jack's instruction manual. Some models may have an additional air purge or filler plug that needs to be loosened during the process.
For a visual guide, view the Video Tutorial available HERE.